How to Use Canva for Your Sticker Designs
Create custom artwork with the Canva graphic design tool! Whether you're a novice or a seasoned pro, create great designs and fabulous imagery in any format with this easy-to-use tool. With our easy drag-and-drop functionality, customize every detail to craft designs that truly represent your unique vision.
Designing on Canva
First, click the 'Create a design' button to begin in the upper right-hand corner. Canva offers a wide range of templates to choose from, that you can select and edit. Select a category, or start from custom sizing for the product you’re making. For this example, we'll choose a blank template. Now you have a blank canvas. It's time to customize your design!

Adding a Background
You can change the background by clicking on 'Background' and choosing a color or uploading an image.
To choose a background color, select the square button next to "Header" in the white ribbon above your design.
To choose a photo, you can either click on "Photos" in the black vertical bar to theleft to select a stock image, or you can upload your own simply by dragging and dropping it onto your image from your computer's file explorer.

Adding Elements and Art
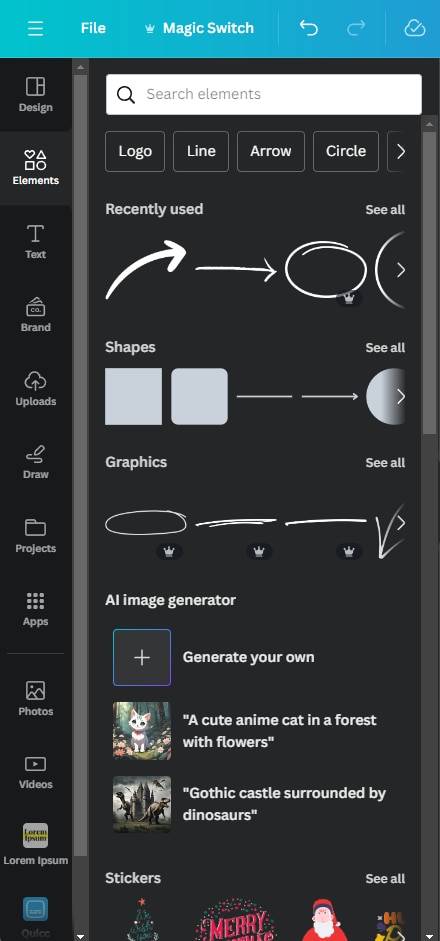
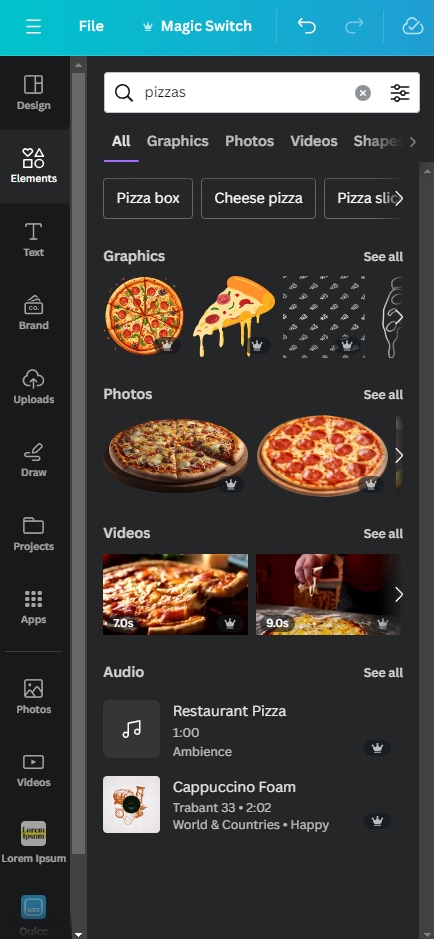
To add elements, click on the 'Elements' tab on the left. You can insert shapes, lines, icons, frames, and more! The possibilities are endless. Simply search for what you are looking or, and you'll be able to see lots of options for your design. The more time you spend looking, the more great options you'll find! As an examply below, we searched for "pizza" to see different artwork that you pop up. It will give you many suggestions based on what you may like.
Once you find the image that you'd like, add it to the design by dragging and dropping it where oyu like it, and resizing as needed.
Adding Text
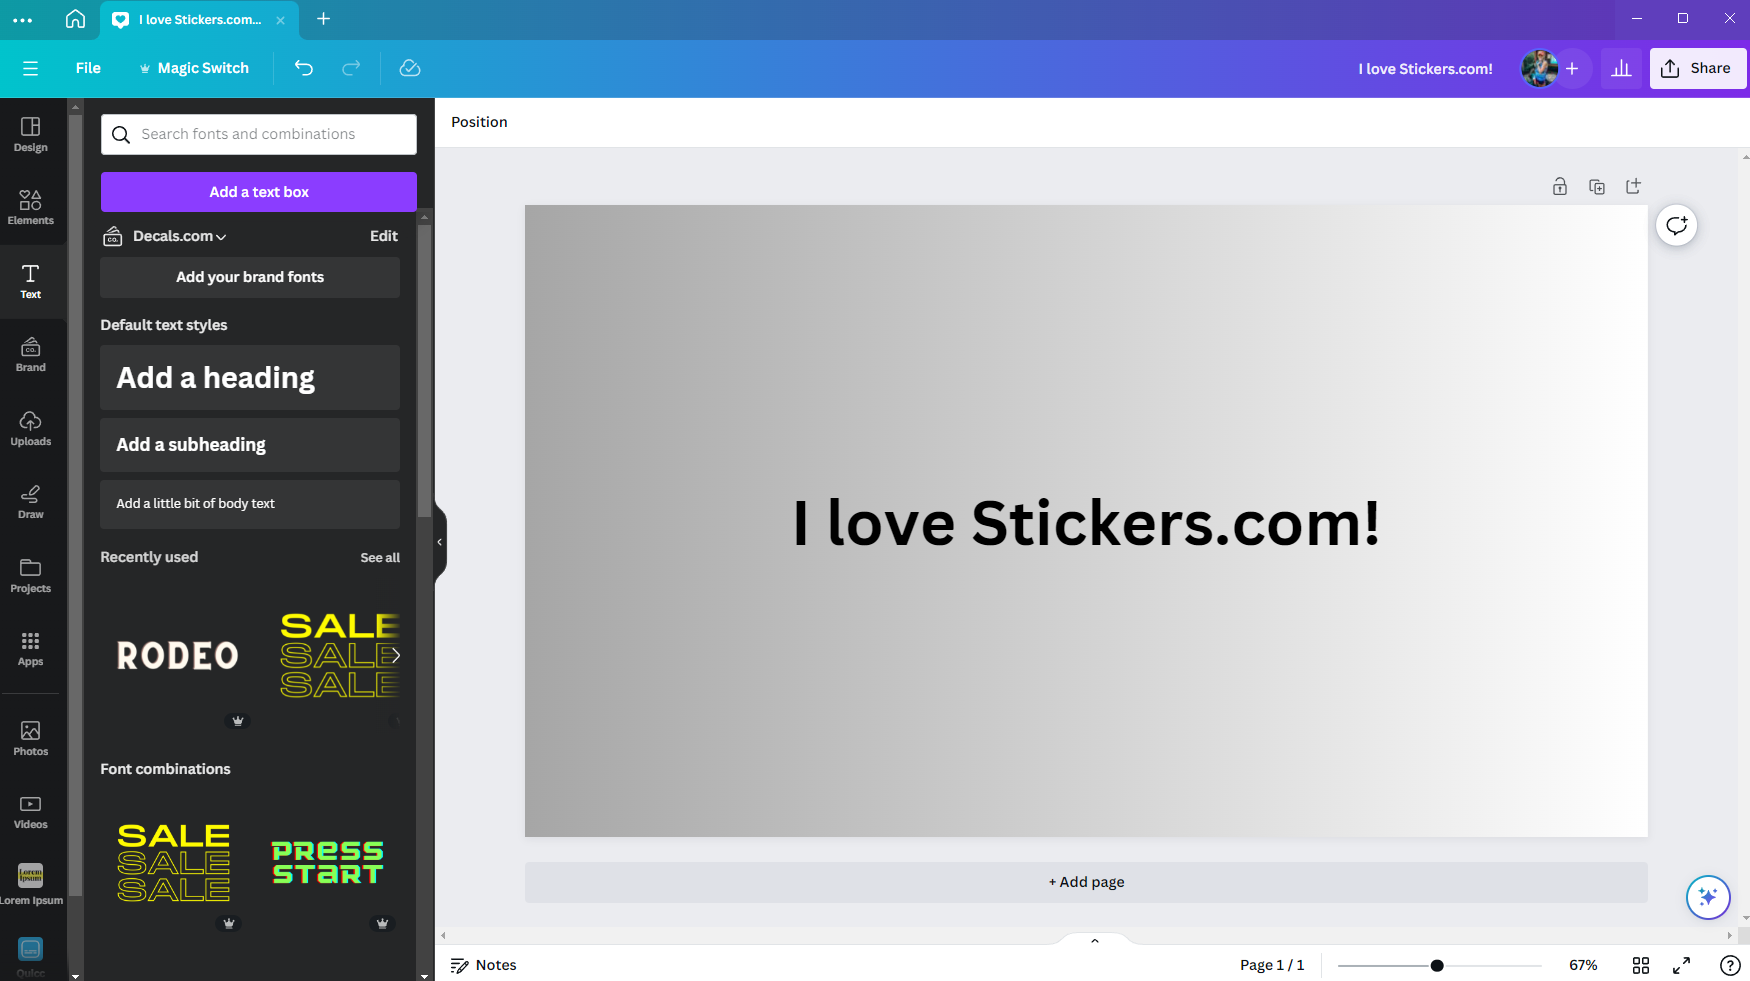
To add text, click on 'Text' on the left, and then 'Add a heading' or 'Add a subheading.’ Double-click the text to edit it. You can also change fonts, sizes, colors, spacing, and alignment.
Save Your File
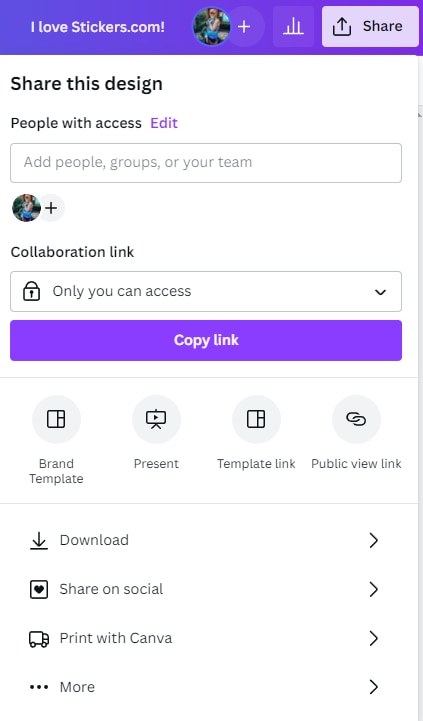
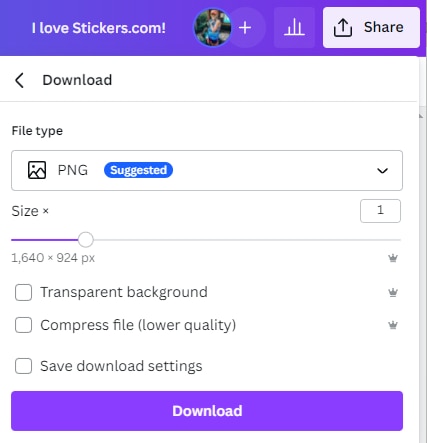
Once you're satisfied with your design, it's time to save and share it. Choose between the formats you want (JPG, PNG, PDF), and click download. Then, head on over to Decals.com to choose your product options, and open up the online designer.
Upload Image
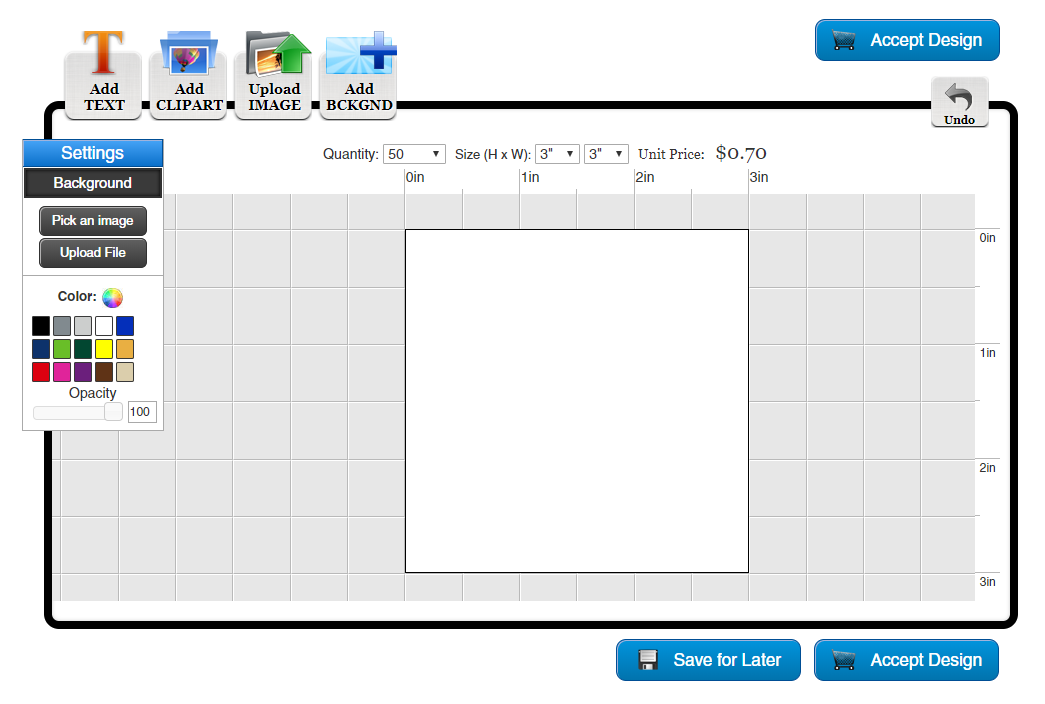
To upload your created Canva image, select the "Upload IMAGE" button at the top of the screen. Once you click the button, a window will pop up where you can select your desired files from your own computer. Files should not be larger than 100 MB.
Placing your Order
Once your design is done, click on the blue "Accept Design" button on the top of the page or the bottom of the page. After you select the button you will be taken to the product options page where you can select the finishing options. You can also add in additional info notes explaining where you want your cut lines to be or if you have special instructions. Additionally a proof will be provided to double check your design and make sure everything is to your specifications. Once you’re comfortable with your design click “Add to Cart” and proceed to checkout.