How to Remove a Sticker from a Laptop: Two Methods
By: Naomi J. Myrick, Stickers.com Staff Writer
Hey, your laptop stickers have served you well, but it’s time for a change of scenery. We get it. Your laptop was expensive and you’re apprehensive about removing your sticker and damaging your computer.
In this short guide, I will teach you how to safely remove stickers from a laptop. These instructions can also apply to vehicle stickers, and just about any other sticker, too.
Removal Prep
We highly recommend determining the manufacturer and model of your laptop before choosing a removal method. Also, always double-check the manufacturer’s warranty.
The next thing you want to do is prepare emotionally to part with your sticker. After all, it’s likely been in your life for 3-5 years, depending on your material choice. Once your heart is at peace, physically prepare to remove your sticker by gathering your removal tools based on the removal method you choose below.
A Special Word on Apple Products
Be extra super careful with Macs. They are made from different metals and can scratch easily. Again, always check your manufacturer’s warranty.
Removal Method One: Rubbing Alcohol & Solvents

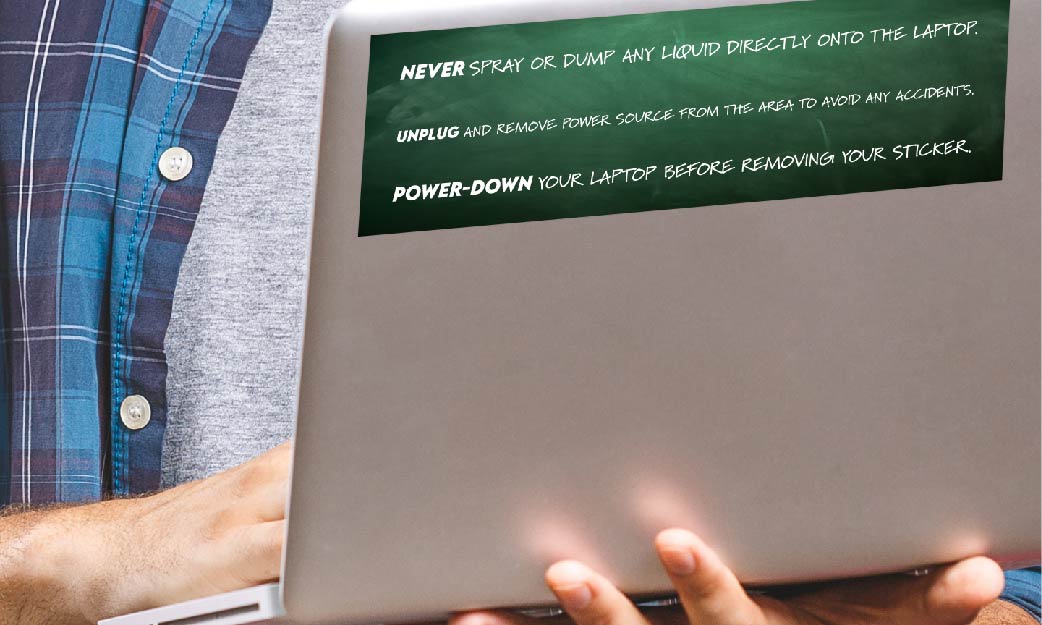
Never spray or dump any liquid directly onto the laptop.
Unplug and remove power source from the area to avoid any accidents.
Power-down your laptop before removing your sticker.
Tools:
- Cottonball
- Solvent like rubbing alcohol
- Squeegee or credit card
- Lint-free microfiber cloth
Step One: Add a small amount of your solvent onto a cotton ball.
Step Two: Dab the edges of your sticker with the cotton ball.
Step Three: Let the solvent soak for a few minutes.
Step Four: Grab your plastic edged item, squeegee works well, and begin to peel the sticker edge.
Step Five: Gently peel the sticker off with your fingers.
Step Six: Grab your lint free microfiber cloth and gently wipe away any moisture or residue.
Removal Method Two: Heat Source

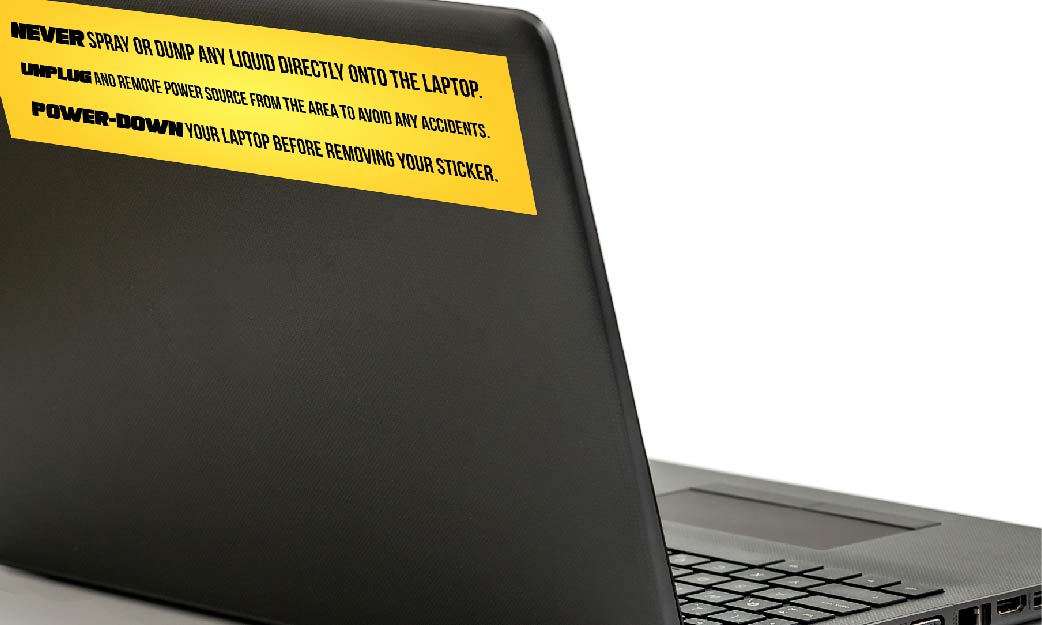
Never spray or dump any liquid directly onto the laptop.
Unplug and remove power source from the area to avoid any accidents.
Power-down your laptop before removing your sticker.
Tools:
- Hair dryer or heat gun
- Non-abrasive solvent
- Damp lint-free cloth
Step one: Get your hair dryer and set it to the lowest heat setting.
Step two: Gently move the hair dryer back and forth over the sticker you wish to remove.Make sure the heat is applied evenly.
Step three: Once the adhesive is heated, you should be able to use your fingertips or squeegee to peel off the sticker.
Step Four: If there is residue left behind, then grab your lint-free microfiber cloth and a dab of solvent to remove it.
You are now equipped with two great ways to safely remove your stickers from your laptop. Remember to be careful not to harm the exterior of your laptop or get any liquid near or in ports or fan vents. Good luck, and godspeed.
All in all, either choice is going to be great for your next sticker project. Just keep the benefits and common uses as a guideline, and happy stickering!