Dirt Bikes Deserve Stickers, Too

By: Naomi J. Myrick, Stickers.com Staff Writer
Like a Boy Named Sue, dirt bikes weren’t exactly nicely named. That’s ok. They’re moto bikes that get muddy, dusty and rusty. But let’s face it, they’re also pretty darn fun. Our dirt bike stickers are made for the ruggedest racing machines around.
Today I’ll teach you all about designing, installing, removing and all around enjoying custom dirt bike stickers. Let’s get started!
Chapter One: Material choices for messy situations

Sometimes… .things can get… messy. So, if you want your dirt bike sticker to look rad-a$$ in all dirt and grime scenarios, then we can totally help. We wholeheartedly recommend choosing either our premium or standard vinyl options when you order.
Premium vinyl has an outdoor durability lifespan of up to 8 years. It also has a water, scratch and UV resistant lamination. Our standard vinyl material is also a solid option. It can live outside for up to 3-5 years, no problemo’. So, you have two wonderful material options to choose from.
The third place and final material option that we typically offer is economy vinyl. It uses a low-tack adhesive and is great for temporary sticker needs, but we don’t necessarily recommend it for the wild sport of motocross. You could use it to promote your upcoming races though via sticker marketing around town. So keep that in mind.
Chapter Two: Designing your rad sticker

There’s a really good reason why so many people don't get tattoos. There are simply too many choices (as well as the permanency factor). This is why stickers are so fun! They’re cost-effective, removable and they offer oodles of styles to express yourself with.
Logos & business designs

Perhaps you have a local small business sponsor you for your races. That’s fantastic. You can print they’re logo on your sticker and give them a shout out on the track. If you own a business or racing outfit yourself, then you can always self-advertise on your bike, or just hand out your stickers to your fans!
Show off your own style

Create a cool sticker design to show off your chill or chic persona. Use bright, noticeable colors — think neons from the 1980s. Print a family photo to remind you of your love and support system. It can even keep you company traveling to races out on the road.
Numbering stickers

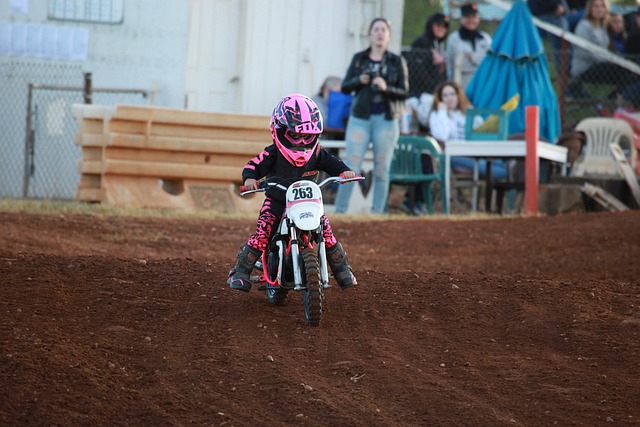
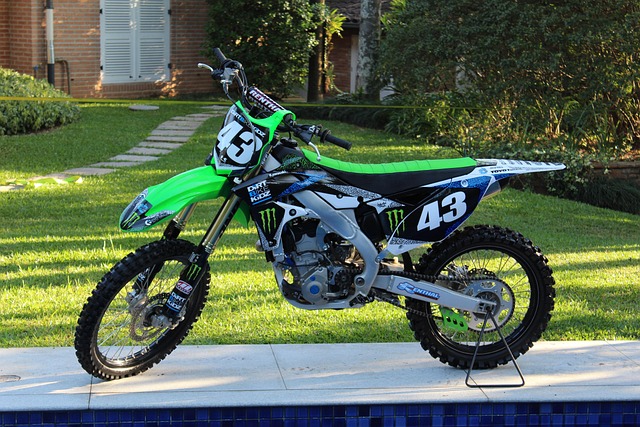
Riders usually receive a racing number to affix to themselves like horse show riders do. But once you get your race number, then you could also get numbered stickers for the bike, in case your number plaque falls off of you.
Chapter Three: How to install a dirt bike sticker
Proper installation is key for long-lasting stickers. Grab a damp cloth, paper towel and tape measure (if you want to center your sticker).
- Installing a bike sticker is a snap! First, make sure the bike surface is clean and dry. Wipe it down with a damp cloth and dry it.
- Either cut you choose, Die-cut or Kiss-cut, you will then need to remove the sticker from its backing. Gently peel it from the paper backing.
- Next, simply place the sticker where you want it to go!
Chapter Four: How to remove a dirt bike sticker
Like proper installation, removing your sticker is also very important. You don’t want to harm the machine surface. Gather a hair dryer, a flat hard object to help peel the sticker, and some warm soapy water and a cloth.
- To loosen the adhesive, apply some heat to the sticker. Hair dryers work well, just make sure not to focus the heat in one spot for too long. This could potentially damage the surface of your bike.
- Gently remove the sticker from the surface.
- If there is any sticky residue leftover, use warm soapy water to remove it.
Chapter Five: How to get the most joy from your sticker

Just like any relationship, your sticker needs proper care most of all. Make sure you wipe it clean of moisture and debris after races, and replace it when necessary. Another important thing to remember is that you must install it properly, too. Be good to your sticker, and it will be good to you. ENJOY!