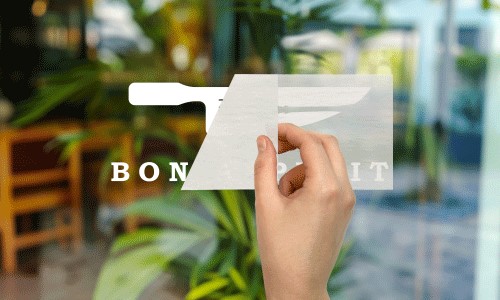
How to Install Transfer Stickers

By: Naomi J. Myrick, Stickers.com Staff Writer
So, you’ve just received your new Transfer Sticker. Yay! But you’re also thinking, how do I install my transfer sticker? No worries. It’s easy. I’ll show you how in nine easy steps. Before we begin, let's cover two things to keep in mind prior to applying your transfer sticker:
Texture
- Stickers work their best when they’re applied to smooth, non-porous surfaces like glass, plastic, painted drywall, stainless steel and tile.
- We do not recommend placing them on porous, rough surfaces like brick.
Temperature
- “Room temperature” or 60 to 74 degrees Fahrenheit is ideal for applying stickers.
- Keep this in mind when applying car stickers in a garage or outdoors.
Now that we've got that covered, let's start the application process.
Step 1: Tools Needed
- Scissors
- Paper Towels
- Masking Tape
- Tape Measure
- Plastic Applicator Squeegee or Credit Card
- Warm Water or Other Common Household Cleaning Item
Step 2: Clean Your Surface
Thoroughly clean the surface, and remember to avoid using glass cleaner because it may leave residue. Make sure the surface is dry.
Step 3: Tape the Sticker
Use masking tape to temporarily hold the sticker to the surface. This will act as a sorta “hinge”.
Step 4: Measure
Get the tape measure and use the bottom of the sticker as a place to measure from. Make sure it’s level on both sides.
Step 5: Peel
Carefully peel off the backing.
Step 6: Apply the Sticker to the Surface
Using the sticker application squeegee, press and apply the sticker to the surface in a zig-zag motion. If you don’t have a squeegee, then you can use a small flat object with a hard edge like a credit card.
Step 7: Press Hard
This is the final sealing moment, so press hard when applying your sticker.
Step 8: Remove Transfer Mask
Next, slowly and gently remove the application mask. The sticker may peel away from the surface as you do this so be extra cautious.
Step 9: Enjoy!
Revel in your perfectly applied transfer sticker.